How to Connect Blink Camera to Wi-Fi
Blink Cameras are an integral part of modern home security systems, offering both convenience and peace of mind. Connecting your Blink Camera to Wi-Fi amplifies its functionality, allowing remote monitoring and instant notifications. This comprehensive guide will walk you through the process for several Blink Camera models.
Basic Requirements
Before you can start setting up your Blink Camera, there are a few necessary items and prerequisites you need to ensure a smooth setup process. This will save you time and make the entire procedure efficient.
- A Blink Camera;
- Reliable Wi-Fi connection;
- A smartphone or tablet compatible with the Blink Home Monitor app;
- Blink Home Monitor app;
- Wi-Fi network credentials;
- Fully charged batteries or new batteries for your camera.
Installing the Blink Home Monitor App
To control your Blink Camera and adjust settings, you need to install the Blink Home Monitor app.
- For Android devices, visit the Google Play Store, search for the ‘Blink Home Monitor app’, and hit ‘Install’.
- For iOS devices, open the Apple App Store, search for the ‘Blink Home Monitor app’, and tap on ‘Get’.
Creating a Blink Account for Your Home Security System
The Blink Home Monitor app is your gateway to view, control, and customize your Blink Camera settings. To begin using it, you’ll need to create a Blink Account. Here’s a detailed step-by-step guide on how to do it:
Opening the Blink Home Monitor App
After successfully installing the Blink Home Monitor App on your device, locate the app icon on your home screen and tap to open it. This will take you to the welcome screen of the app.
Clicking on ‘Create Account’
On the welcome screen, you’ll see an option to ‘Create Account.’ This is typically located below the ‘Login’ button. Tap on ‘Create Account’ to begin the process of setting up your new Blink Account.
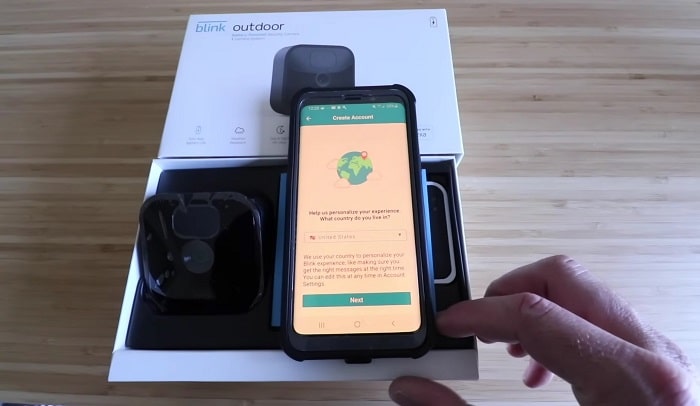
Entering the Necessary Details
You’ll be prompted to enter some necessary details to set up your account:
- Email: Enter a valid email address. This will be your username and will be used for all future communications with Blink, including password resets.
- Password: Create a strong password for your account. It should be at least seven characters long and include a combination of letters, numbers, and symbols.
- Confirm Password: Re-enter the password to confirm it. Make sure the password you entered matches the one in the ‘Password’ field.
After entering all the details, tap on the ‘Create Account’ button to proceed.
Activating the Account Using the Confirmation Email
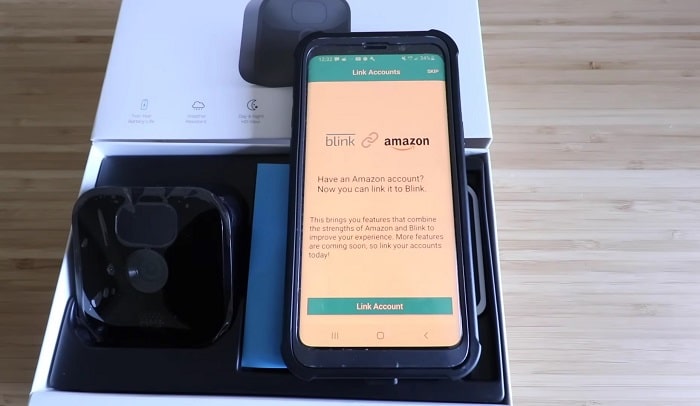
Once you’ve completed the registration process, you’ll receive a confirmation email from Blink. Open your email inbox, locate the email from Blink, and click on the activation link provided in the email. This will activate your account and take you to a confirmation page.
Logging in to the Blink Home Monitor App
After your account has been activated, you can log in to the Blink Home Monitor App. Return to the app and enter your registered email address and password in the respective fields. Click ‘Login’ to access your new Blink account.
You’re now ready to add your Blink Cameras and Sync Module to your account and begin the process of connecting them to your Wi-Fi. Remember, each step is essential for your home security. Secure, hassle-free living is just a few taps away!
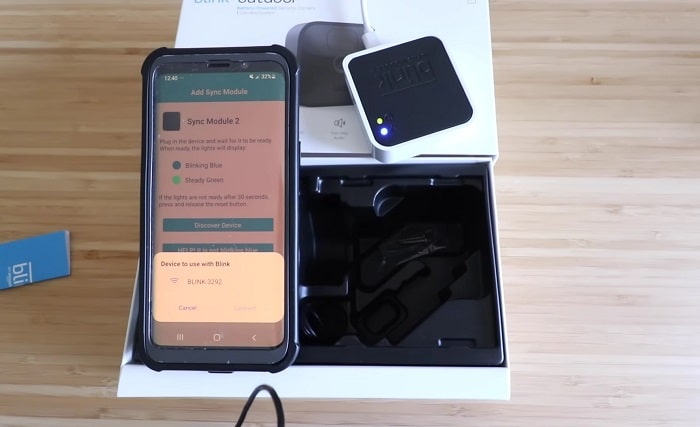
Setting up the Sync Module
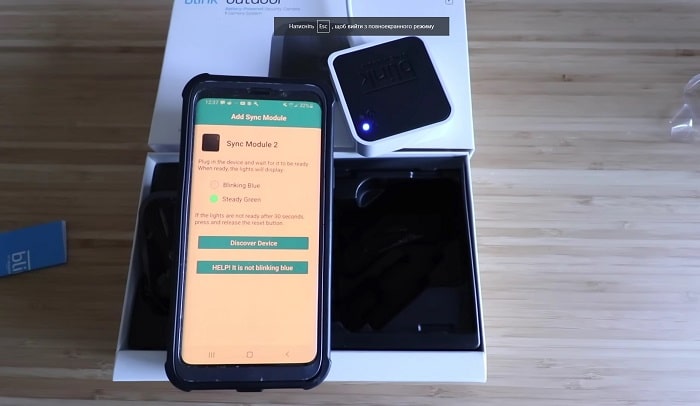
The Sync Module is a device that helps your Blink Cameras connect to Wi-Fi.
- Connect the Sync Module to power using the provided cable.
- Use the app to connect the module to your Wi-Fi network.
- Add the Sync Module to your Blink account following the app instructions.
How to Connect Blink Camera to Wi-Fi: A Step-by-Step Guide
The next step in optimizing your home security with a Blink Camera is connecting the device to your Wi-Fi. This process can seem daunting, but with this detailed guide, it will be straightforward and swift.
Inserting Batteries into the Camera
Depending on your Blink Camera model, you might need to insert batteries into the device. For cameras using AA batteries, open the battery compartment (usually located at the back of the camera), and insert two AA lithium batteries, making sure to align the batteries with the correct polarity as indicated inside the compartment.
Adding the Camera to Your Blink Account Using the App
Once the batteries are properly inserted, it’s time to add your camera to your Blink account:
- Open the Blink Home Monitor app on your device.
- Tap on the ‘+’ sign usually located at the top right corner of the app interface.
- Select ‘Blink wireless camera’ from the options provided.
- Name your camera to easily identify it later and select the Sync Module you want it associated with.
Scanning the QR Code of the Camera
Every Blink Camera comes with a unique QR code that helps identify it during the setup process:
- Find the QR code on the back of the camera.
- Use your smartphone or tablet to scan the code when prompted by the Blink Home Monitor app.
Following the On-Screen Instructions to Connect the Camera to Wi-Fi
The app will guide you through the process of connecting the camera to your Wi-Fi network:
- Confirm that your Sync Module is online.
- The app will search for the camera and try to connect it to the Wi-Fi network. Make sure your Wi-Fi network is operational and the password is handy.
- Enter your Wi-Fi credentials when prompted.
Positioning the Camera in the Desired Location and Ensuring a Strong Wi-Fi Signal
Lastly, position your Blink Camera to get the best view of the area you want to monitor:
- Ensure the camera is within a good range of your Wi-Fi signal. Use the signal strength indicator in the Blink Home Monitor app to guide you.
- Position and angle the camera to capture the desired area. Some models come with a stand or mount to aid in positioning.
- Check the camera view in the Blink Home Monitor app to make sure it covers the area you intend to monitor.
And that’s it! Your Blink Camera should now be connected to your Wi-Fi, ready to keep an eye on your home.
Troubleshooting Common Issues
If you encounter problems, here’s how to tackle them:
- Camera not found during setup: Make sure the camera is powered and within the Wi-Fi range.
- Wi-Fi connection failure: Check your Wi-Fi credentials and try resetting your router.
- Weak or intermittent Wi-Fi signal: Move your camera closer to your router, or use a Wi-Fi extender.
- Camera not appearing on the Blink app: Ensure your camera is linked to your Blink account and online.
- Resetting the camera: Follow the instructions in the app or consult the camera’s manual.
Conclusion
Connecting your Blink Camera to Wi-Fi may seem complicated at first, but following these steps will make the process smooth. So go ahead, enhance your home security with your Wi-Fi-connected Blink Camera. If you need additional support, reach out through the contact details provided in the app.
Remember, having a connected home security system not only provides safety but also gives peace of mind. Let your Blink Camera be your vigilant guardian.